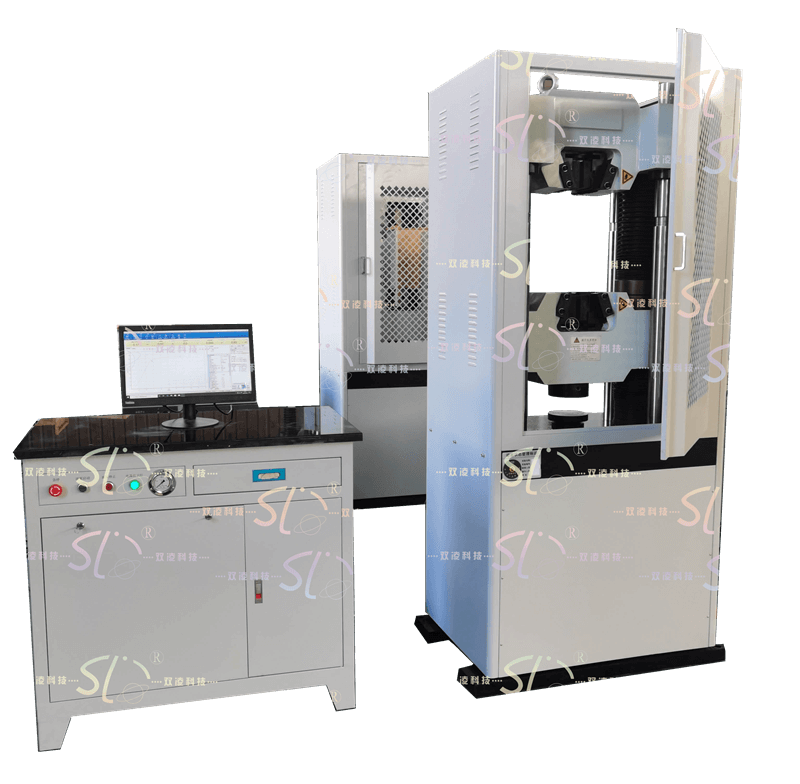
- Maximum test force: 600kN
- Tester class: Class 1
- Test force division: the whole process is not divided into four equivalent grades (the whole process resolution is unchanged)
- Effective measuring range of test force: 2%~100%FS
- Force resolution: 1/300000
- Accuracy of test force measurement: better than ±1% of the display value
- Pilot gauge pitch (optional): 50mm
- Deformation measurement range: 0-15mm
- Effective measurement range of deformation: 2%~100%FS
- Deformation resolution: 1/300000 of maximum deformation
- Deformation measurement accuracy: better than ±0.5% of the displayed value
- Displacement measurement range: 0~250mm
- Displacement limit error: better than ±1% of the display value
- Displacement resolution: 0.01mm
- Control mode: constant stress, constant deformation, constant displacement three closed-loop control
- Isokinetic stress control range: 2 ~ 60Mpa, stress rate relative error: better than the set value of ≤ ± 5%
- Isokinetic strain control range: 0.00025/s~0.0025/s, strain rate relative error ≤±5% better than the set value.
- Isokinetic displacement control range: 0.5~50mm/min, displacement speed relative error better than the set value of ≤±5%
- Software and Interfaces WINDOWS operating environment software and interactive human-computer dialog operator interfaces
- Cylinder stroke: 250mm
- Maximum distance between tensioning jaws: 500mm
- Maximum distance between compression surfaces: 500mm
- Column spacing: 450mm
- Round specimen clamping diameter: Φ13~Φ40mm
- Thickness of flat specimen clamping:0~30mm
- Upper and lower platen size: 204×204mm
- Maximum piston travel speed: 80mm/min
- Lower crossbeam adjustment speed: 150mm/min
- Main unit external dimensions (approx.): approx. 1000 x 650 x 2150mm;
- External dimensions of the piano type oil source control cabinet (approx.): 400×700×1500mm
- Power supply: 380V±10%/50Hz/three-phase five-wire system
- Equipment power: oil pump motor power 2.1kW
- Crossbeam up and down movement motor power 0.55kW
- Main unit weight (approx.): 2600kg
DL-600KN computer-controlled tensile testing machine
Overview.
DL-600KN computer-controlled tensile testing machine is mainly used for tensile, compression, flexural and bending tests of metal materials. Adding simple accessories and devices, it can also test wood, cement, concrete, rubber, plastic and their products.
The testing machine adopts microcomputer control full digital wide frequency electro-hydraulic digital valve, drive precision hydraulic cylinder, the test force, displacement, deformation of a variety of modes of automatic control, complete the tensile, compression, flexural test of the specimen, in line with the test machine according to the national GB/T3159-2008 "Hydraulic Universal Testing Machine" design and manufacture in line with the GB/T228-2002 "room temperature tensile test method for metal materials", ISO6892-1998, EN10002-1: 2001 and ASTM and other relevant standards:. Test Methods for Metallic Materials", ISO6892-1998, EN10002-1:2001 and ASTM and other relevant standards:.
The products are widely used in building materials, metallurgy, scientific research units, colleges and universities, quality testing centers and commodity inspection departments, from the routine test to the development and research of new materials, the testing machine can meet the different requirements at different levels, high efficiency, high precision for your service, is an ideal production, scientific research and teaching and other industries, test equipment.
Related products
-
Test and inspection equipment
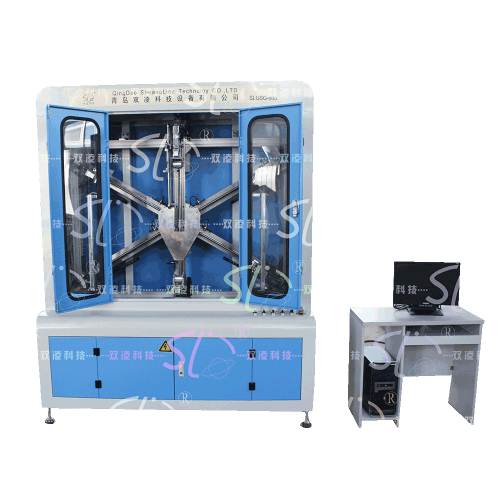
SLGSG-600 Tubular Conveyor Belt Transverse Rigidity and Repeat Rigidity Testing Machine
Read more -
Test and inspection equipment
SLGZ-700A Comprehensive Testing Machine for Tubular Conveyor Belt
Read more


ASM-1A输送带巷道丙烷燃烧性能试验装置-500x500.png)
SLGSG-600型管状输送带横向刚性及重复刚性试验机-500x500.png)
SGM-02型输送带滚筒摩擦试验机-500x500.png)
